Search
Visited
Popular
Recent
Discussed
Valued
Shared
The best tips to get the most out of your cell phone iphoneloyals ®
How to tell if the iPhone battery needs to be changed
App to listen to iPhone music offline
Best iPhone apps
How to add music to iPhone
Previous
Following
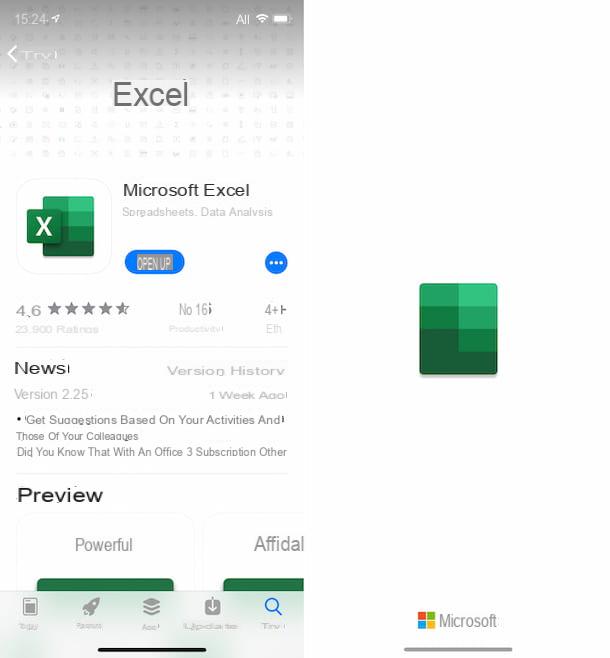
How to use Excel on iPhone
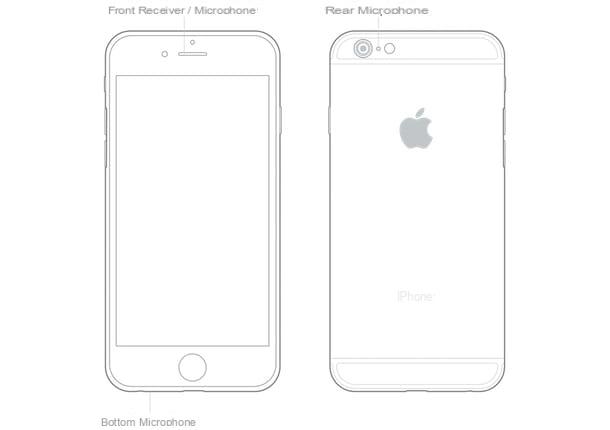
How to clean the iPhone microphone
How to reset iPhone from off
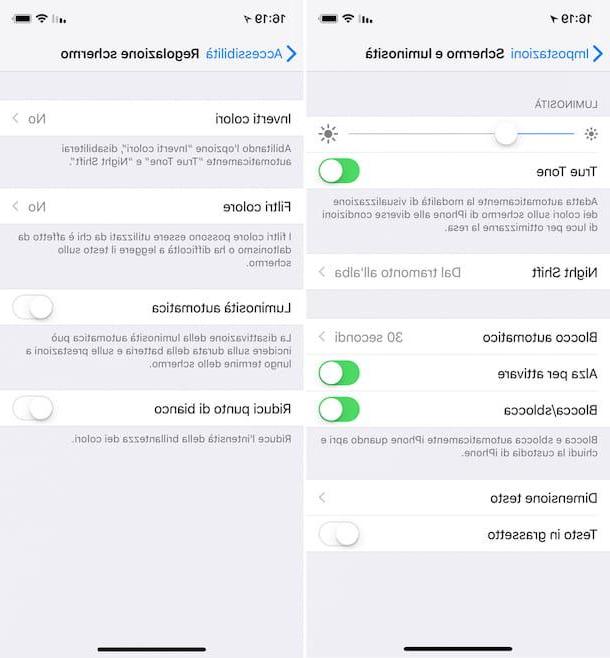
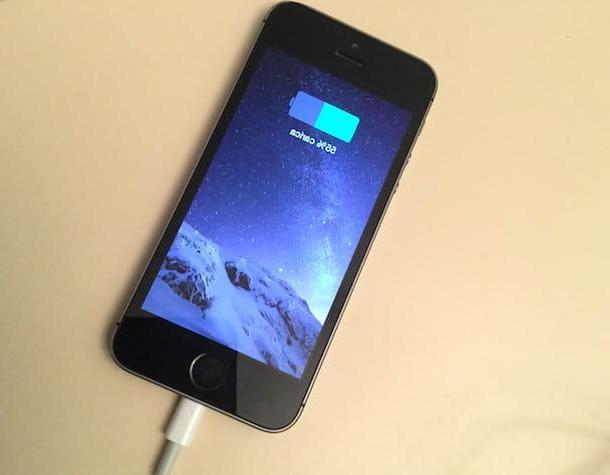
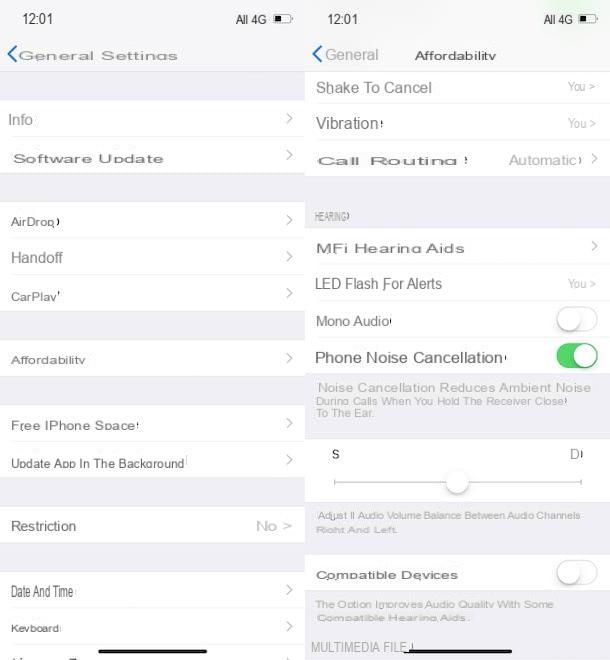
How to increase iPhone battery life
The most popular
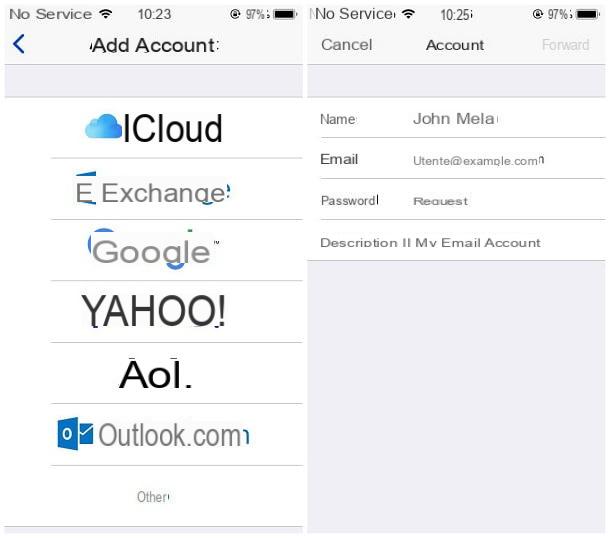
How to set up Free mael on iPhone
How to spy on an iPhone
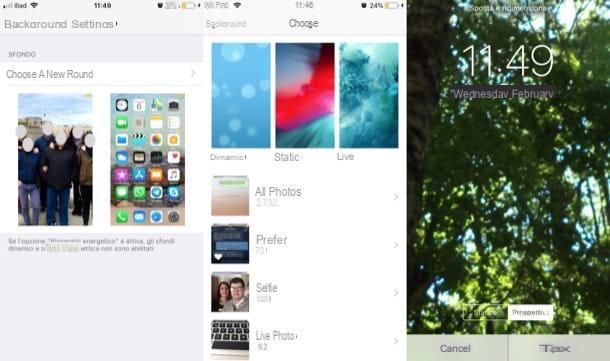
How to change iPhone wallpaper
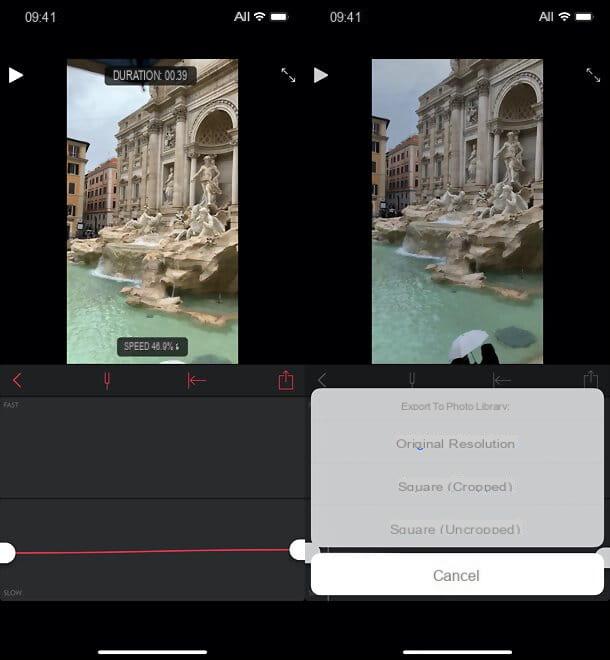
How to slow down a video on iPhone
How to calibrate iPhone battery
How to sync iPad with iPhone
How to download free games on iPhone
How to erase everything from iPhone
How to pause a video on iPhone
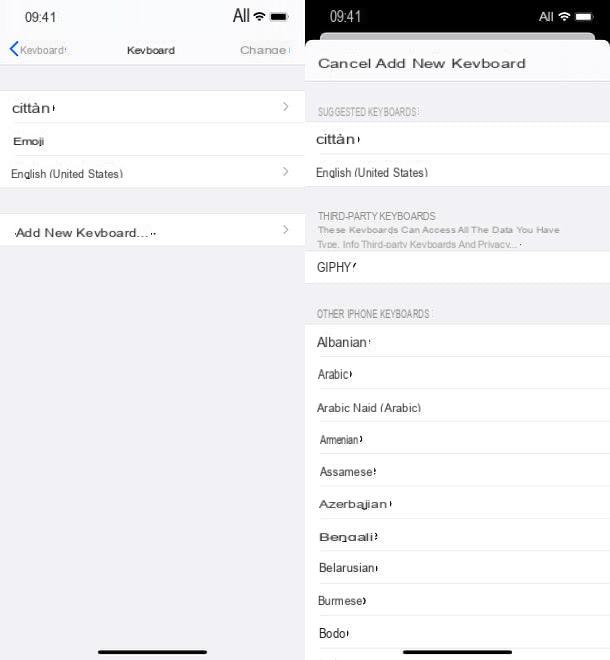
How to change keyboard on iPhone
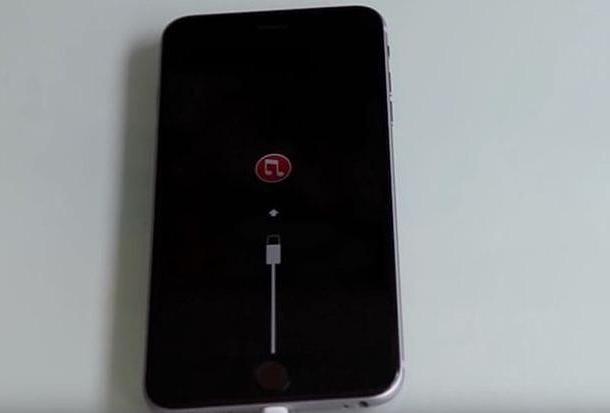
How to put iPhone in DFU
How to put a song as a ringtone on iPhone
How to put the dot on the iPhone
Trends
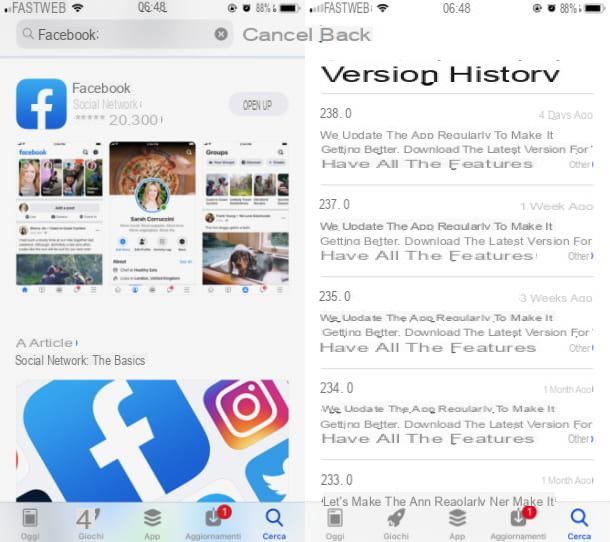
How to update Facebook on iPhone
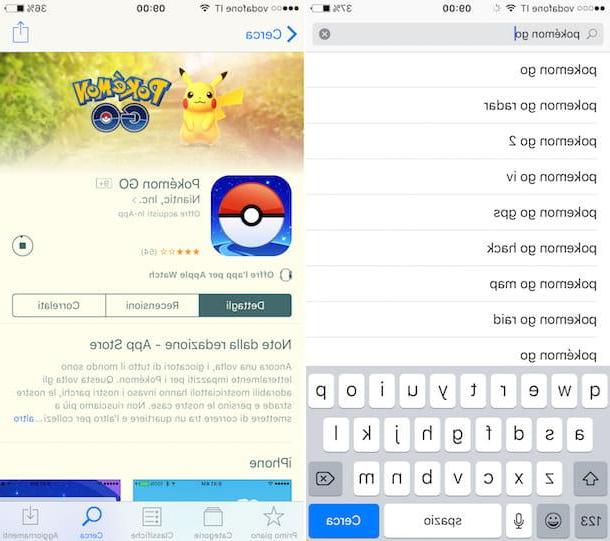
How to download Pokémon on iPhone
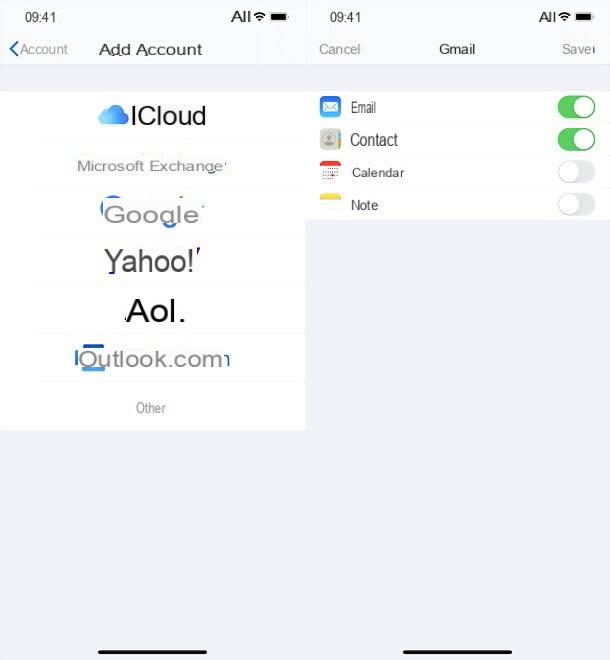
How to sync iPhone contacts with Gmael
How to reset iPhone battery
How to flash iPhone notifications
How to view all e-mails on iPhone
How to put the flash when they call you iPhone
Programs to develop iPhone apps
How to unlock iPhone with passcode
How to update iPhone without WiFi


 Search
Search
Search