From iPhoneLoyals, we want to explain how to set the Screen Recorder on iPhone. All you need is your Apple Touch Screen phone and the possibility to record with the mythical Red circle. The iPhone video is saved in the Photos application. At the end of the post we give you other options (other Apps available for download from the App Store) if you do not want to use the recorder of your mobile.
How to Record Screen Video on iPhone
Before we get to the heart of this tutorial and explain, in detail, how to set Screen Recorder on iPhone, it may be useful to know on which iPhone this option is available.
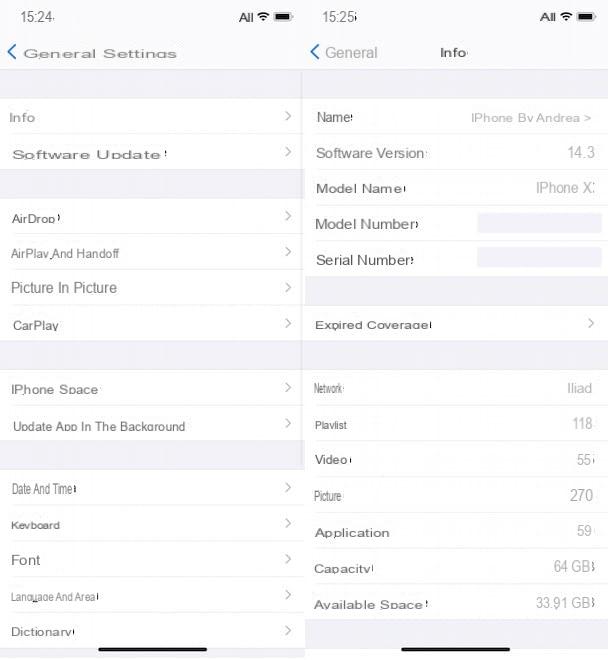
The feature called Screen Recording was introduced from iOS 11 and is therefore available "as standard" on all iPhones compatible with the operating system in question. If you have an older iPhone and do not know which version of iOS is installed, you can easily find out by clicking on thegear wheel icon, to access the iOSsettings by selecting the General andInfo options and locate the Software Version item.
Initially, this feature only allowed you to record iPhone screen without the ability to capture audio as well. However, over time, not only has this option been introduced (although some apps do not allow it) but it is also possible to activate the iPhone's microphone and simultaneously record the device's screen and your voice.
How to activate the screen recorder on your iPhone
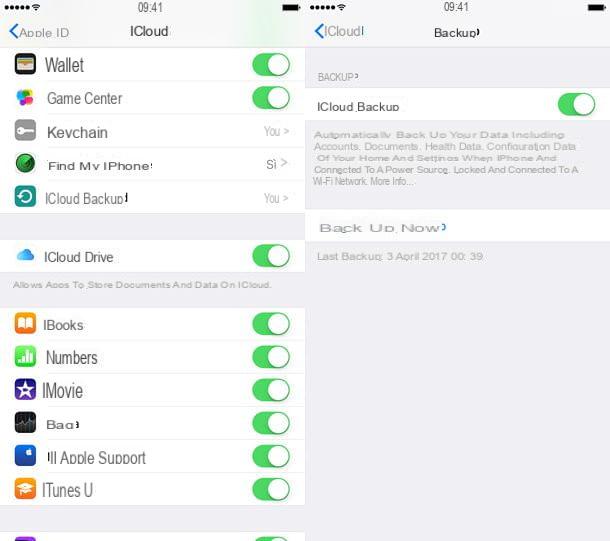
To be able to record your iPhone screen, you must first enable the Screen Recorder feature. All you have to do to achieve this is to access your iPhone's settings and add the option in question to the iOSControl Center.
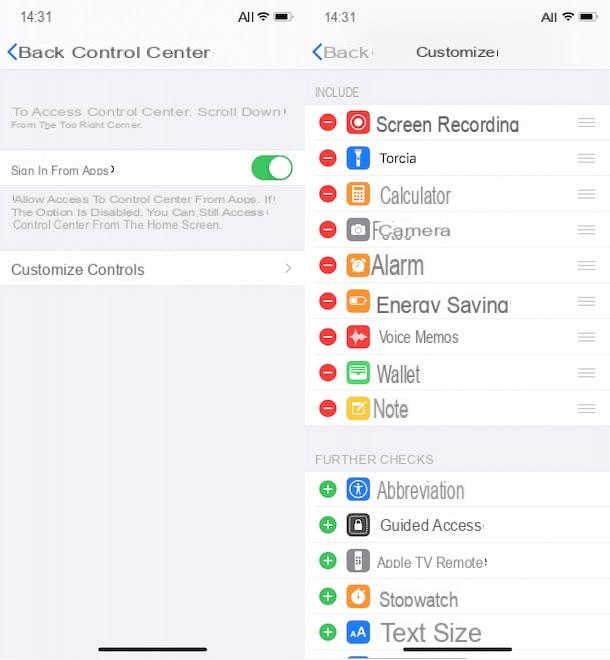
To continue, then take your iPhone, press thegear wheel icon, to access the iOSsettings and select the Control Center item. In the new screen that appears, tap the Customize Controls option, locate the More Controls section and presses the + button on theScreen Recording.
On this screen, in the Include section, you can customize the layout of the various functions in the Control Center of your iPhone. To do this, you can press and hold your finger on the icon three dashes in relation to the option of your interest (eg Screen Recording) and move it to the position you prefer. For more information, I leave you with my guide on how to customize iPhone Control Center.
How to Record Screen on iPhone

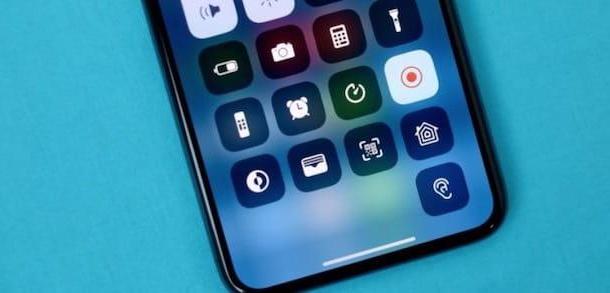
After enabling the Screen Recording option in iOS Settings, you are ready to record your iPhone screen by simply opening Control Center and starting the recording via the appropriate button.
To open Control Center, swipe down from the top right corner of the screen (on iPhones with Face ID) or swipe up from the bottom edge of any screen (on iPhones with a Home button).
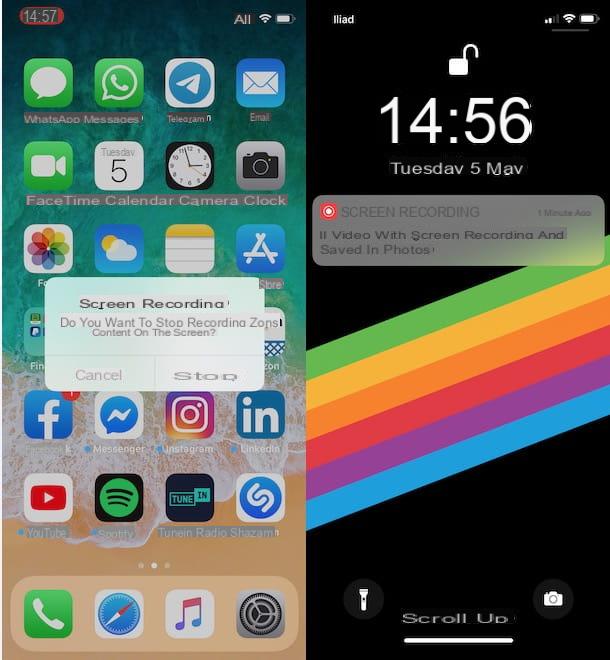
Now, regardless of which iPhone model you have, click on the round icon, to start screen recording and capture audio from apps that allow it. However, to stop recording, tap where the red dotat the top and press the Stop button. Alternatively, you can also stop recording by calling the Control Center and pressing the round icon.
Once the recording is complete, the video will be automatically processed and saved, in MP4 format, in the iPhone Photos application, exactly in the album called Videos. The processing and saving times vary depending on the length of the recording: as soon as the video is ready, you will see a notification with the message Screen recording video saved to Photos.
How to Record Screen with Audio on iPhone
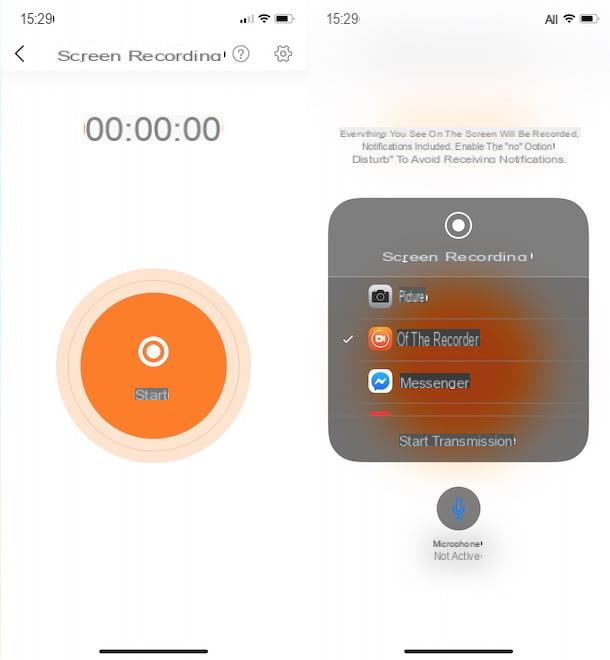
Do you need to record your screen and your voice at the same time? In that case, you need to turn on the iPhone microphone before you start recording. To do this, open the Control Center, do a long tap on the Screen Recording option (the round icon) and, in the new screen that appears, first select the item Microphone off, then Start recording, to start recording.
You should know that the microphone will remain active also for future recordings and, in case you need to record exclusively the iPhone screen, it will be necessary to deactivate it again by repeating the procedure just indicated, pressing on the Microphone on option.
Finally, I point out that the iOS screen recording feature captures everything displayed on the iPhone screen, including notifications. To avoid receiving notifications during recording, I recommend that you open iOSsettings, press the Do Not Disturb item and move the toggle for the Do Not Disturb option fromOFF to ON. Another way to turn it on is to open the iOS Control Center and press the moon icon, to activate the mode in question and not receive notifications (if you press and hold it you can decide how long you want it on).
Apps for Recording Videos/Screen on iPhone
If you're not completely satisfied with the native iOS feature, you'll be pleased to know that there are also several third-party apps that allow you to record your iPhone screen. I recommend them, as they also include editing and/or streaming features on online platforms. Here, then, are some iPhone screen recording apps.
- DU Recorder: is a free app that allows you to record your iPhone screen with the ability to both capture audio from apps that allow it and to activate the iPhone's microphone for voice recording. In the subscription version (from €10.49/month with 7 days free trial) it also allows you to make live broadcasts on platforms such as YouTube, Facebook and Twitch. In addition, it is proposed as a valid application for editing photos and videos.
- Go Record: is another good free app that allows you to record your iPhone screen. In the paid version (5.49€) it also allows you to edit the recorded videos and, above all, to use the Face Cam function that also allows you to include your face in the recordings.
- Screen Recorder +: this free app allows you to record the iPhone screen, with the possibility of activating the microphone to capture your own voice as well. In addition, once the recording is complete, you can edit the video and add your own face through the Face Cam feature. There are advertising banners and a watermark (the app logo) is applied to the recordings: it is possible to remove these limitations by activating the Pro version at 4.49 €/month.